The Dicey Sprite & Tile Maker
About
The Dicey Sprite & Tile Maker
The Dicey Sprite & Tile Maker is a minimalistic, but very, very powerful pixel editor built for game development.
Development
Why I made The Dicey Sprite & Tile Maker
I started development on this project near the end of 2025, when I started started working on a new game, Dwarves are Stealing my Bread. I wanted to make a pixel art game, and simply no tool existed that fit what I needed. I needed something that I could use on my school laptop, but was also powerful enough to make all the art. Aesprite was nice, but I could not use it on my school laptop; I needed something web based. Not only that, it doesn't have the greatest tile map tools. Pixel is web based, but highly limited. Only 1 animation, no tile map or good tile tools, and just would not cut it. I wanted something that had the animtion power of Aesprite, the accessibility and clean interface of Piskel, and the tile map tools of Tiled. And so, I started planning out The Dicey Sprite & Tile Maker.
Core ideas
No other program had a UX concept that would cleanly and intuitively intergrate the 3 core featues I wanted: pixel animation, tile mapping, pallet management. So I had to get creative.
The first big concept is reworking the idea of Selection. Ussally, selection works like this: wrap region in a box or lasso, selects object in it. Go to a sidebar or toolbar to edit the selection. That would work say for entities, but indiviudal tile transformations? Not really as much. This is what tiled did, and it felt pretty clunky. So I did this, I created a binary layer, to create Pixel Selection. If you hold Shift and drag, it selects the pixels underneath. Then, we simply transform the pixels in the selection. This changes the UX a lot. Instead of a huge toolbar with specialized tools, we just need a few transformations and ways to automate selection.
The second big concept is the idea of Color steps. A pallet is a set of colors. If we rethink it a bit, you can get the set of colors via a set of steps. Each step is a transformation of the previous step. So you can have a base color, then a step that makes it 20% darker, then a step that makes it 20% more red, etc. Now, hook that onto a keybind... and you have a very powerful pallet management system. Say we want a clean, pixelated gradient that goes from red to blue. In other software, you need to manually go to the color picker, select a color, change it, repeat a bunch of times. Here, with keybind-controlled color steps, you just move and press h or k as you drag the mouse. That's it. And remember Pixel Selection? It works with color steps. If you select pixels, you can transform the pixels with h/k. Making for example darkening or adjusting hue for a region extremly easy.
These two core ideas, Pixel Selection and Color Steps, form the core of the UX. Most other features are simply making these two core ideas more powerful.
The third major thing is having a stong keyboard-driven workflow. I didn't want to have a toolbar on the side. I hate it. It covers so much screen space. Plus they are slow. 1-5 for brush size, F to fill, l for line, o for circle, b for box, s for select color, ctrl for eyedropper, h/k for step color, 6-9 h/s/v/a, +/- step percentage, shift for selection, n for noise, d for dithering. Then it's combining & being creative with them to form new tools. Brush size goes from 1-5, so 5 is the max... But 3+5 = 8, correct? So if you hold 3 and 5, you get a brush size of 8. Holding 1, 2, and 4 gives you a brush size of 7. And so on. Custom brushes? Select region, then shift+1-5. Bam! the selection is now the brush. Want a spiral tool? Hold o (circle) and l (line). Want some variation in your brush strokes? Hold n while choosing brush size. Want to fill all? s to select all, then press F to fill. Want to select a region? Press shift+f. Shift will always make all tools become selection tools, or use the current selection. Also, like other programs, c & v to copy and paste, and similar to blender, x to cut/delete. z to undo. The tools are designed to be combined and used creatively. If you treat them plainly, they will not seem useful. But if you combine them, they become very powerful. For example, say you want a polygon select. Select the verticies, hold shift (selection) + l (line (plays connect the dots)) + alt (alt=fill, !alt = stroke).
Everything above has been only talking about pixels. But what about tiles? Tiles, are just bigger pixels... press t and zoom out. All pixel tools will scale up to a tile level. Tilemode also gets some unique tools, r to rotate, alt+f to flip, and a special tool I'll mention next.
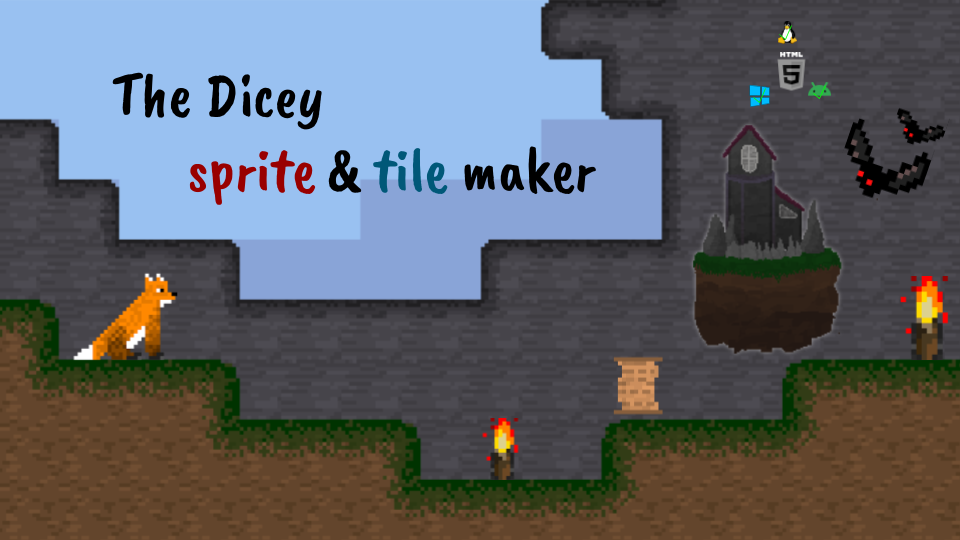
Making each tile in a set is kinda a pain. The baseline is 47 tiles, or if your smart then 4 corners + 4 edges + 1 inner tile in a 2x2. But still, it's quite a pain. Not only that, in things like tiled, you have to set up the terrain brush, which can take ages with hundreds of tiles. If we press ctrl+a, it will automatically generate a set of 47 tiles based on the active tile, and the sliders in the menu. And it will still look hand drawn due to the power of color stepping. Then just press a and then placing tiles will place the correct tiles based on the neighbors. If it's inaccurate, then we press the tile types edges/corners on the sidebar to define the outside of the tile. For an example, see the image above. The grass and stone only took 30 seconds to make.
Theres one more thing that the current tools don't do well. Large backgrounds or elements. They want a type of infinite pixel canvas. Try pressing ` to resize the frame size, and set it to 1. Now a tile would be 1 pixel. And I added special settings that make pixel-only tools like color step keybinds & the color picker work with tiles, so it's a true infinte pixel canvas.
Now, theres one more pain point that I solved as well. You know how annoying it is to see if your map actully works well in a game? You have to export it, then import it into your game engine, then test it, then go back and edit it, then repeat. It's a pain. So I added a playtest button. Sets the active animation as the player, and you can walk around and test the map. WASD to move, simple collision. You can append --ignore to layers to make them not collidable for background or decorative layers. You can also use this to test out sprite animations by appending stuff like --walk-right or --craw to the animaion names, and it will hook them up to the movement. It's really nice for testing out animations and tilesets in a game-like environment without having to export and import into a game engine. And if that wan't enough, you can shift+click animtions and place them in the map as entities. And even more, this program allows exporting as .tmx package, Tiled's native format, so you can export your maps and use them in Tiled if you want to use Tiled's map editor features or export to a game engine that supports Tiled's format.
Q/A
How long did it take to make?
9 months.
How easy is it to use?
It's designed to be as easy as possible. It's very rewarding to learn; Just may take a little time to break the toolbar habit most other programs form for instead memorizing like 10 keybinds and using them creatively.
How much do I use it?
I use it daily for my game development projects. It's become an essential tool in my workflow. All the art for Dwarves Are Stealing my Bread and Paint Factory use this for just about all the art.
How much does it cost?
It's free to use & web based, but I do accept donations if you find it helpful.
Whats the arrow on the right side of the screen
Online colab. Have fun drawing with others!